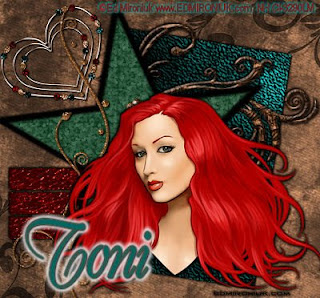
I used PSP 9 to create this tutorial.
Plugins needed:
Alien Skin 5 Impact - Gradient Glow
Scrapkit Villa Tuscan is by Toni and is a PTU Kit. It can be found here
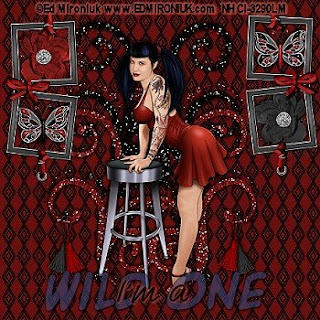
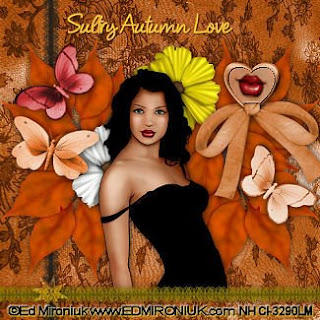
The tube is by Ed Mironiuk and can be purchased at CILM
Supplies:
Tube of choice
Font is FrancineHMK
To get Started:
Open the template and you will see all the layers, they are all named. I deleted the layer with the info on it.
Add a layer and move it to the bottom of the layers. Choose a paper you like from your kit and flood flll this layer.
Now choose the Back Shape layer. Close the other layers so you can see this one better. (click on the eyes in your layer palette to do this) Using the magic wand click on the shape, then go to your kit and pick another paper from it. Flood fill the shape. Selections none.
Unhide the Side Rectangle layer and hide the Back Shape Layer. Do as you did with the previous layer, but this time when you are clicking on the bars, hold down the shift key to capture them all. Once they are flood filled, Selections none.
Okay Hide that layer and unhide the Inside Star layer. Click on the Star as before but this time fill it with a pattern you have in your collection that matches the ones you've already used, or use a solid color. I used YWN-bgrd-069.
Now Drop Shadow on all the layers. 2/ -2 100 5 You will need to go back to them individually to do this. You can unhide them all as you do it.
Time for your Tube. I moved the Star up to the left a bit, liked it better there. Copy and paste your tube, you may have to resize it. Do the Drop shadow as well.
Find a side lying doodle you like. I resized it to 70%, copy and paste. Place it below the star layer. Drop Shadow.
Find the upright doodle you like, copy and paste and resize it to 70%. Place it behind your tube and to the left. Drop Shadow.
Now grab the star frame layer and line it up to the star. Do Drop Shadow on it. You could color it if you like. Just use the magic wand to hi light it and then flood fill it with a pattern or color. I placed this layer right above the inside star layer.
Now I grabbed the beaded heart and resized it to 50%. Copy and Paste it and put it in the upper left hand corner. Now go to Rotate - Free Rotate - 35 to the left. Play with the positioning. Drop Shadow 1/-1 100 3 Sharpen.
Merge All
Now is the time to add your copyright info.
I used the Font FrancineHMK at 36
The Name:
I Duplicated the name. I stayed on the raster layer 1 and went to Effects - Alien Skin 5 Impact - Gradient Glow - Ghost Text. Apply. This will show up behind the other name layer.
Merge and you are done! I resized the tag to 400p x 400 p
Tutorial is written by Nasty Harpy. Purchased Kit from Toni
Oct 22 '08
All rights reserved by Nasty Harpy
