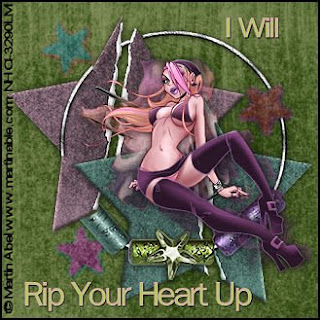
This tutorial is purely of my own making and any similarities to another tutorials is purely coincidental.
I used PSP 9 to create this tutorial.
Plugins:
Scrapkit Message Board is by Farrah and can be purchased here
The tube is Martin Abel and can be purchased CILM
Supplies:
Tube of choice
Font is FreesiaUPC
To Begin:
Open a 500 x 500 transparent image
Open your tube, resize to 70%. Sharpen. Apply Drop Shadow V/H 1 Op 70 Blur 15 Black
Duplicate the Tube Layer and move it to the left of your tube. Reduce the opacity to 66% make sure the duplicated layer is beneath your original layer.
Still on your duplicated layer, Effects - Alien Skin - Swirl 2.1. Use the settings already there. Dupilcate this layer and move to the right of your tube. Make sure it is beneath your original tube
Merge the 3 tube layers. Click off the bottom layer. Use merge visible to merge all 3 tube layers.
Find the Ripped Star element. I resized is up to 125%. Place it behind the merged tube layer. Drop Shadow it with the settings used before. Sharpen. I didn't colorize it, but you could if you need to.
Find Paper1 (Green). Go to your palette, find the paper in the patterns. It will be here the top. Choose and flood fill your bottom layer.
Now find your crystal stars in the elements. Colorize them if you need to. Resize them to 70%. Place them and Drop Shadow V/H 1 Op 70 Blur 10. Play with the color of the DS. Find something that suits you. Close off all the layers but the crystal star layers. Merge visible. Now apply Hue (legacy) to them.
Merge your crystal stars layer to your background layer. Make sure to close off all the other layers first.
Merge your two ripped star layers. Make sure to close of the other layers, your tube layer and your background layer. Move your background layer to the bottom.
Tutorial is written by Nasty Harpy. Scrapkit is provided by Farrah
March 31 '08
All rights reserved by Nasty Harpy
No comments:
Post a Comment